Just released: “Zing!” by Franky Pluym
The new single of Franky Pluym, called “Zing!” was just released under the Sonic Hill Records label. Words & Music by Andy Vanspranghe.

The new single of Franky Pluym, called “Zing!” was just released under the Sonic Hill Records label. Words & Music by Andy Vanspranghe.
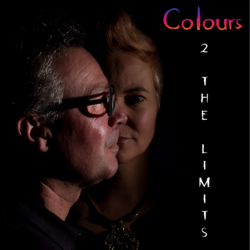
The debut single of 2 The Limits, called “Colours” was just released under the Sonic Hill Records label.
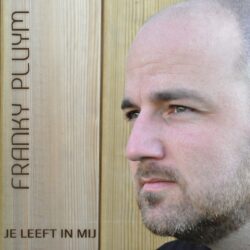
The new single of Franky Pluym, called “Je Leeft In Mij” was just released under the Sonic Hill Records label. Words & Music by Andy Vanspranghe.
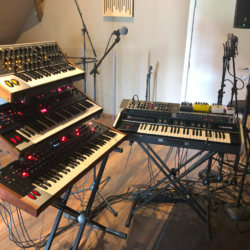
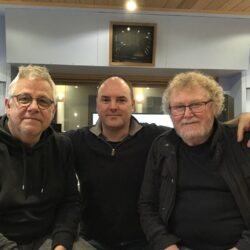
Recording the new single of Franky Pluym .
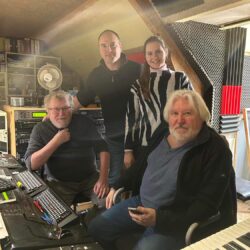
The guys from AOR band Frozen Rain were in the studio to record a couple of video clips for their upcoming album. Wonderful guys and great musicians!
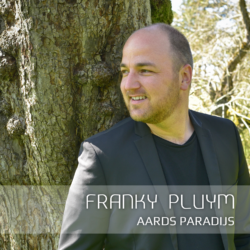
The second single of Franky Pluym, called “Aards Paradijs” was just released under the Sonic Hill Records label. Words & Music by Andy Vanspranghe.
Great afternoon at the studio of top producer Phil Sterman (2Unlimited, Bart Kaëll, Laura Lynn, Will Tura, Willy Sommers, …) with my good friend and equally good producer Eric De Clercq.
Recording session at RCP Studios with super talent Kelsey Adams and music industry dinosaurs Eric De Clercq and Serge Feys.
The debut single of Franky Pluym, called “Stukje Van Mezelf” was just released under the Sonic Hill Records label. Words & Music by Andy Vanspranghe.